

What you will need:
-2 different fabrics, preferably knit or any stretch, about 1/2 a yard of each.
-elastic band, measure to fit width of waist
-sewing basics, string, scissors, pins, etc.

First start by folding both of the fabrics in half, pattern side down and cut a basic skirt pattern out. Honestly, I just kind of winged the shape of it. I'm sure skirts are the only thing you can get away with doing that.

Next, open both the pieces up good sides touching each other and pin together the sides of the skirt (the skirt will be inside out while sewing). Then sew down the sides top to bottom on both sides. After sewing, go back and trimmed any extra fabric off the sides. Be sure not to get too close to the stitch, wouldn't want to risk cutting one! Set the skirt aside, for now.


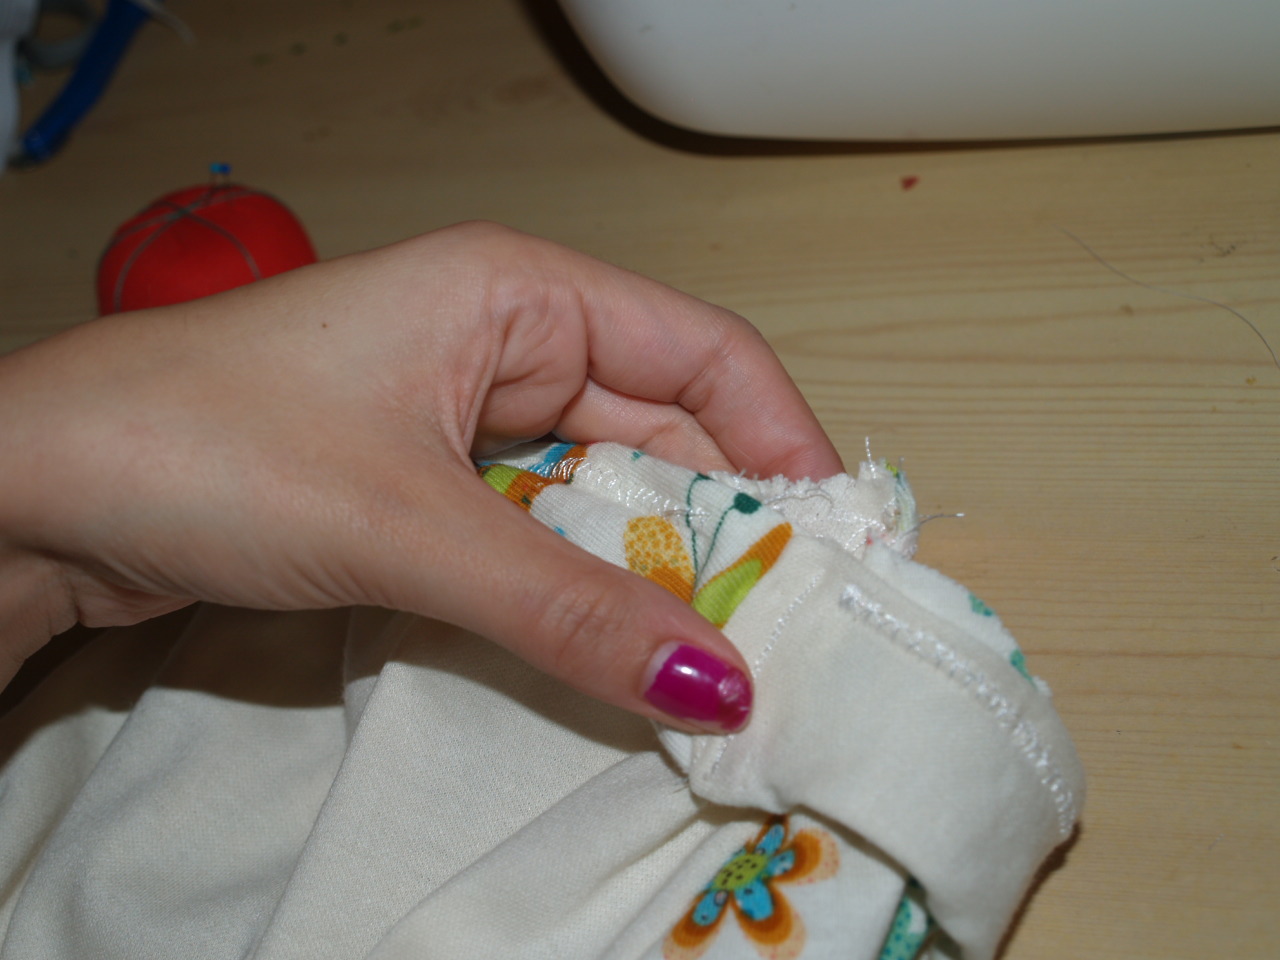
Cut two identical pieces of fabric, one of each you are using. Make sure these fabrics are half of what you need the waist to be. I added an 1/2 an inch on each fabric for seam allowances. Make sure the width of these are a little bit more than your width of your elastic. My elastic band was a 1 inch so i made the band a little more than 2 inches. Once cut, sew one side of each fabrics together, good sides facing each other. Once sewn, fold the entire piece in half, width wise good sides together and sew down the entire length. Turn the band right side out, causing the right sides of the fabric to be on the outsides and your stitch to be inside.


**Pin one end of the elastic to the casing when you unravel the fabric...believe me you will smack yourself if you forget to and you lose the elastic back into the casing!**

**I went over this stick about 3 times...wouldn't want the elastic to break from not begin secured properly.**
**The last step is to hem the bottom. Unfortunately, I can't hem this until my child wakes up in the morning. So this part is missing, but hemming is a pretty self explanatory step.**
No comments:
Post a Comment