
Here's the original shirt:

I forgot to take pictures as I was making this shirt but it was, honestly, only 4 steps: cut, sew sides together, hem, & sew a line to separate the sleeves/shirt. I took some pictures after wards though to explain a bit.

First I took the shirt and laid it out on the floor. Match the collars up to sit evenly.

Fold the shirt in half matching corner to corner and lie the shirt on top of the fabric, matching the fold. You will need to do this twice and cut out two of the same patterns.
Sew the two pieces together, only along the black lines shown. Make sure you sew the garment inside out, meaning good sides touching. After this, hem the entire garment, meaning the curved bottom along with the neck line

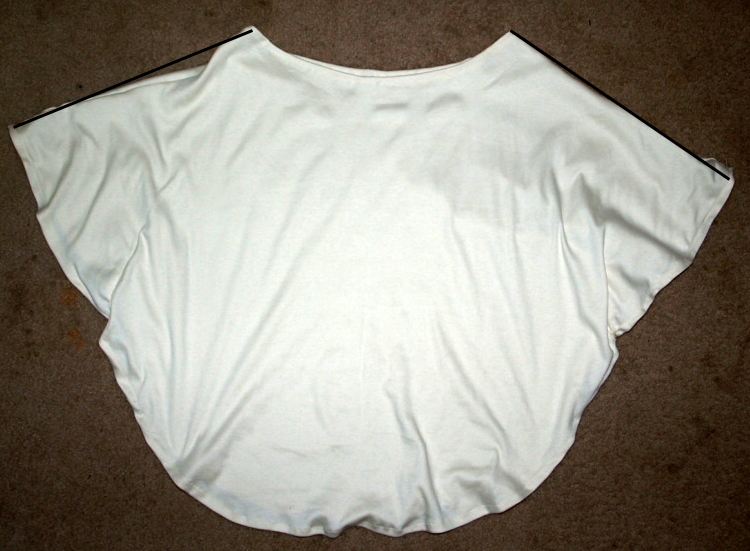
Try the garment on and determine how loose or form fitting you would like the body of the shirt. I like mine loose so when I tried it on I pinned where the black lines are shown. Sew a straight line from the bottom to about 1/4 up the length of the shirt connecting the back and the front. This is the only difference between a poncho & a poncho shirt.
(Ignore my awfully messy room) I'm debating on making this shirt again with different fabric. I seriously LOVE how easy breezy & comfy it is.


I have this type of shirt that I would like to copy as well. My problem is that it has elastic cording to gather in at the waist plus instead of stitching the side like yours, it has side pieces that are like a V under the arms.
ReplyDelete