design

Thursday, September 29, 2011

Tutorial : Poncho Shirt


Okay so I have the one shirt that I absolutely LOVE....don't we all? I spent $25 for it at target a couple months ago. One day, while lounging around in it,  I decided "you know what? I could totally make this!" So last night I attempted & seriously.....I want to kick myself for spending $25 for such an EASY shirt to make! It took about a yard of fabric... (if you catch the right sales you can buy a yard of knit for as low as $5.99 a yard. **If you didn't do the math...that's a $20.00 difference!!**)...and about an hour to make.

Here's the original shirt:

I forgot to take pictures as I was making this shirt but it was, honestly, only 4 steps: cut, sew sides together, hem, & sew a line to separate the sleeves/shirt. I took some pictures after wards though to explain a bit.

First I took the shirt and laid it out on the floor. Match the collars up to sit evenly.
Fold the shirt in half matching corner to corner and lie the shirt on top of the fabric, matching the fold. You will need to do this twice and cut out two of the same patterns.

Sew the two pieces together, only along the black lines shown. Make sure you sew the garment inside out, meaning good sides touching. After this, hem the entire garment, meaning the curved bottom along with the neck line
Try the garment on and determine how loose or form fitting you would like the body of the shirt. I like mine loose so when I tried it on I pinned where the black lines are shown. Sew a straight line from the bottom to about 1/4 up the length of the shirt connecting the back and the front. This is the only difference between a poncho & a poncho shirt.


(Ignore my awfully messy room) I'm debating on making this shirt again with different fabric. I seriously LOVE how easy breezy & comfy it is. 


Sunday, September 25, 2011

Mommy's little helper - pumpkin rolls


What you need
FOR THE CAKE:
1/4 cup powdered sugar (to sprinkle on towel)
3/4 cup all-purpose flour
1/2 teaspoon baking powder
1/2 teaspoon baking soda
1/2 teaspoon ground cinnamon
1/2 teaspoon ground cloves
1/4 teaspoon salt
3 large eggs
1 cup granulated sugar
2/3 cup 100% Pure Pumpkin
FOR THE FILLING:
1 pkg. (8 oz.) cream cheese, at room temperature
1/2 cup powdered sugar, sifted (the recipe calls for 1 cup but I like it less sweet)
6 tablespoons butter or margarine, softened
1 teaspoon vanilla extract
Powdered sugar (optional for decoration)


TO MAKE:
Preheat oven to 375° F. Grease 15 x 10-inch jelly-roll pan, or a clean baking pan; line with wax paper. Grease and flour paper. Sprinkle a thin, clean, cotton kitchen towel with powdered sugar. The more sugar you use, the less the cake will stick to the towel.

Combine the flour, baking powder, baking soda, cinnamon, cloves and salt in small bowl. Beat eggs and granulated sugar in large mixer bowl until thick. Beat in pumpkin. Stir in flour mixture. Spread evenly into prepared pan.

Bake for 13 to 15 minutes or until top of cake springs back when touched. (If using a dark-colored pan, begin checking for doneness at 11 minutes.) Immediately loosen and turn cake onto prepared towel. Carefully peel off paper. Roll up cake and towel together, starting with narrow end. Cool on wire rack.

To make the filling, beat 
cream cheese, 1/2 cup powdered sugar, butter and vanilla extract in small mixer bowl until smooth. Carefully unroll cooled cake. Spread cream cheese mixture over cake. Reroll cake. Wrap in plastic wrap and refrigerate at least one hour. Sprinkle with powdered sugar before serving, if desired.


Pattern Fever - part 2


I tried out another one of those patterns I bought a few weeks ago. This one had me a little confused and took about 3 hours to make and I made a few mistakes BUT I think it turned out incredibly cute. I'm definitely going to try this pattern again... & hopefully it won't take as long! 


Friday, September 23, 2011

Tutorial : two-faced skirt

Okay so this is my first tutorial, so try your best to follow!! Let me know if you have any questions at all! I came up with the idea for this skirt because I had leftover a scrap piece of really cute fabric that I used to make a dress for Taylor (previously posted). I didn't have enough to make an entire skirt from it so I decided to make the front part out of the design and the back half out of a matching plain cream knit.


What you will need:
-2 different fabrics, preferably knit or any stretch, about 1/2 a yard of each.
-elastic band, measure to fit width of waist
-sewing basics, string, scissors, pins, etc.

First start by folding both of the fabrics in half, pattern side down and cut a basic skirt pattern out. Honestly, I just kind of winged the shape of it. I'm sure skirts are the only thing you can get away with doing that. 


Next, open both the pieces up good sides touching each other and pin together the sides of the skirt (the skirt will be inside out while sewing). Then sew down the sides top to bottom on both sides. After sewing, go back and trimmed any extra fabric off the sides. Be sure not to get too close to the stitch, wouldn't want to risk cutting one! Set the skirt aside, for now.


Cut two identical pieces of fabric, one of each you are using. Make sure these fabrics are half of what you need the waist to be.  I added an 1/2 an inch on each fabric for seam allowances. Make sure the width of these are a little bit more than your width of your elastic. My elastic band was a 1 inch so i made the band a little more than 2 inches. Once cut, sew one side of each fabrics together, good sides facing each other. Once sewn, fold the entire piece in half, width wise good sides together and sew down the entire length. Turn the band right side out, causing the right sides of the fabric to be on the outsides and your stitch to be inside. 


Sew the casing (with out the elastic in it) to the skirt. Be sure to sew the bottom of the casing (where the seam is) to the top of the skirt. The casing should be on the outside of the skirt. I know, doesn't make much sense saying it...but after you sew it like this you will flip the casing up and the seams will be nice and hidden. If you want to double check that you are doing it correctly, pin it first, using the pins horizontally and then flip up the casing. Believe me, I pin and check before sewing all the time, better safe than sorry! 
**Be sure to leave the beginning and end of the casing un-sewn. (Remember, there's no elastic in there yet!)**
Slide the elastic band into one side and slide it through the entire casing. I find it easiest to use your pointer finger and slide the fabric on finger like hanging up curtains! I'm sure this method won't work if you have tons of fabric, but find what works best for you.


**Pin one end of the elastic to the casing when you unravel the fabric...believe me you will smack yourself if you forget to and you lose the elastic back into the casing!**


Pin the elastic sides together and sew them together. 


**I went over this stick about 3 times...wouldn't want the elastic to break from not begin secured properly.**
Pin the sides of the casing together, one overlapping the other. Be sure the tuck the top one's edges for  a clean look. Sew together using a straight stitch. 
Fold the casing, now with the elastic in it, back down and finish sewing the gap you original left. Be sure to overlap your original stitch a bit to secure it. 


**The last step is to hem the bottom. Unfortunately, I can't hem this until my child wakes up in the morning. So this part is missing, but hemming is a pretty self explanatory step.**


Saturday, September 17, 2011

Mommy's Little Helper - Salty Pretzel, Peanut Butter & Chocolate Chip Cookies


Okay so I guess it's abruptly that time of year again. Hard to believe since it was in the 80's 2 days ago. Anyway, it's freezing outside & we have been stuck inside for the past few days. So I thought now would be a perfect time to start baking with my little one! I came across this easy recipe for a salty but sweet cookie and figured we'd give it a try.


The recipe called for making cookies from scratch using your favorite chocolate chip cookie recipe... My favorite recipe just so happened to be the kind that is pre-mixed and comes in a bag for $2.00...or maybe it's my favorite because I like to take shortcuts. Oh well. If you go my route, you will need eggs, butter/margarine, peanut butter chips & pretzels.


Add the egg, butter & mix in the peanut butter chips. I just estimated the amount of chips depending on your taste. Personally, I used roughly 1/2 cup.


Put a handful of pretzels in a bag and smash them. I kept them kind of chunky instead of crumbs because I wanted them nice and crunchy.

Mix the pretzels in and stir until wet.


Put on the baking sheet and bake for 7-8 minutes. I cook them until they are golden on the bottom and still sort of wet on top...that way when they cool they are soft but the pretzels will add the right amount of crunch. Yum yum!!


In the words of Taylor, "We did it!!"


Privacy Please! - Roman Shades


I came across this amazing idea on pintrest.com to create roman shades from existing blinds. Which is PERFECT because my crazy dog just recently found his way into our bay window while we were away and destroyed our blinds. Not to mention, our bay window is at the front of our house...for the whole neighborhood to see...lets just say I was ready to give the darn dog away! 


Anyway, the tutorial I basically followed can be found here: http://365days2simplicity.blogspot.com/2011/04/easy-no-sew-roman-shades.html

She did an awesome job posting pictures and step by step instructions. Thanks to my awesome husband, he found out an easier way to remove the "ladder" portion of the blinds instead of cutting between each slat one by one....which by the way I did on one of the three blinds & it took FOREVER. Anyway, what he did was cut the ladder part connected to the top and the part connected to the bottom, then removed the bottom piece (which you have to do anyway) and the ladder string slid right off...as well as the slats. 

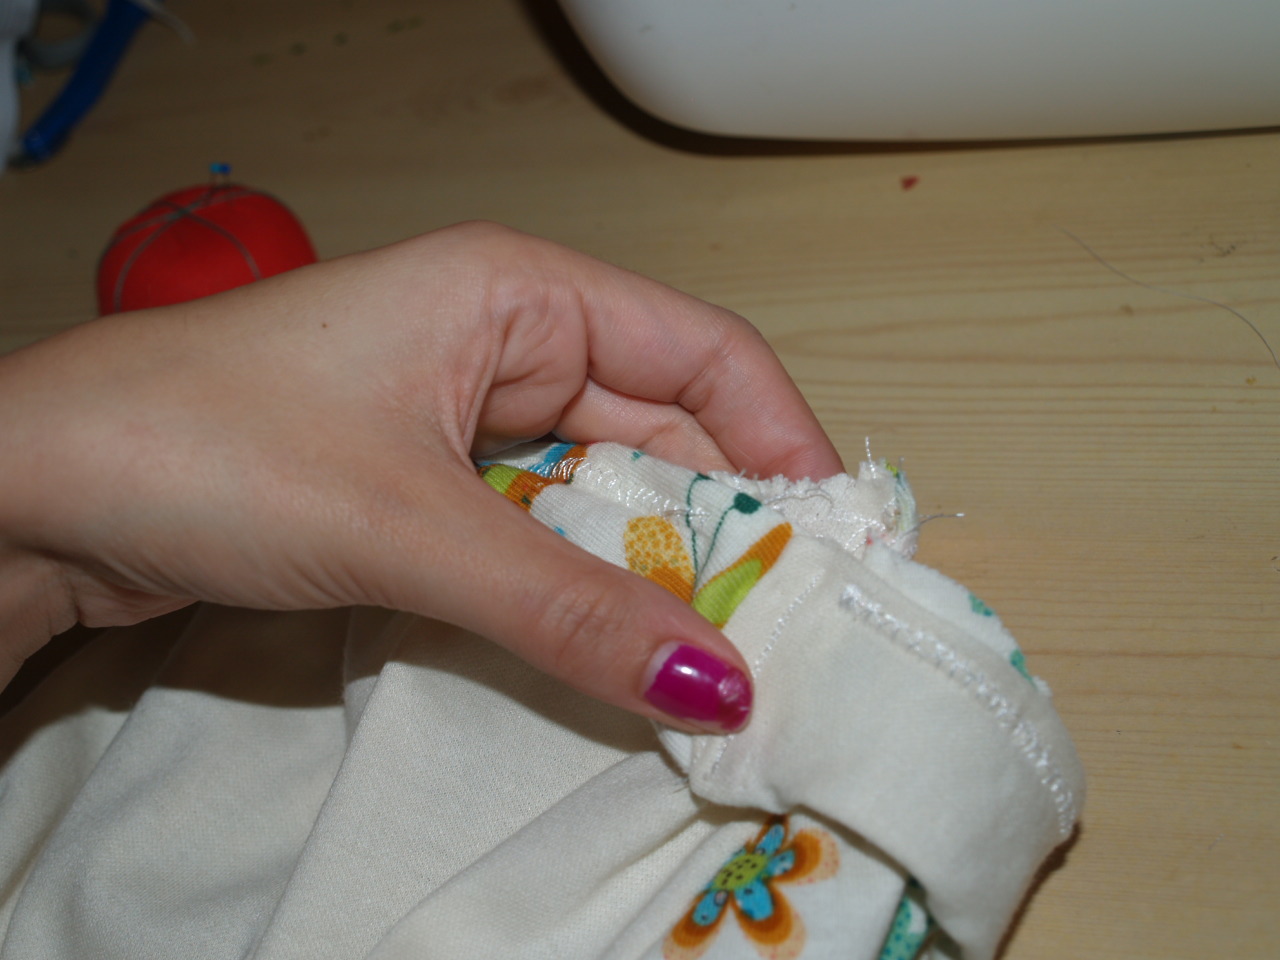
Also, I followed her instructions and did "no-sew" by using the iron hem stuff you can buy in the stores. Well let me just say....if I make these again, I will just take the extra effort and just sew the hems. The iron hem glue kept sticking to my fingers or breaking into little pieces. I'm sure it was just me, so give it a try... but don't blame me when you get flustered! 

I looked online to figure out what type of material to use. Most  websites said to use "home decor" fabric, which is fine and dandy......if you want to spend $12-$20 a yard! I had to buy 5 yards of fabric for 3 windows & was not trying to spend $100 on shades! So I settled with "quilting" fabric....which has A LOT of variety....making it easier to find a fabric to suite your room and only cost $5-$7 a yard. It may fade over time, but it only cost me $25 for fabric, so that's a risk I can afford. (side note: if you plan on making these, or anything for that matter, I highly suggest going to Joannfabrics.com and signing up for their mailing list. I signed up last week and have already gotten 2 20% off entire purchase coupons. Hey! Any little bit helps!)


Bottom line, I spent a total of $27 (with the 20% coupon and since I already had the blinds) and got these AWESOME roman shades. It took about 2 hours. Honestly, the first hour was pretty much spent on just the first window....the 2nd and 3rd took less time. It was quite simple as long as you know how to measure, iron, cut & glue. 


Saturday, September 10, 2011

Pattern Fever!


Picked up this SUPER cute patten for $0.99 & this really cute knit fabric on sale from Joann Fabrics the other week. Unfortunately, I finished it before I came up with the brilliant idea of blogging how to's, so I didn't take pictures while it was in process. I know..... :(!! I may upload the pattern later, if anyone is interested. It turned out really cute....although I couldn't get my child's eyes off of the TV screen long enough to snap a picture. The pattern was for a child size, instead of toddler so I had to do some adjustments but I think it turned out incredibly cute! And it can be worn with leggings & a long sleeve shirt during colder weather. Yay to multitasking clothing!


Thursday, September 8, 2011

"It's Dancey Dance Time!"


For my daughter's 2nd birthday party we decided to have a Yo Gabba Gabba Dancey Dance Party! We decorated the entire house in orange, yellow, green, pink, blue & red! We also had gabba music playing during the party for the kiddies to enjoy! Besides a mini melt down during the party, caused because she got new bath toys & wanted to get in the bath that second to play with them, it was a blast! We made Gabba masks instead of party hats which were a hit with both the kids & the parents! Due to the lack of Gabba stuff sold in stores, most of the stuff we had for the party was handmade but all in all, I'd say the month or two of planning was well worth it!


Happy 2nd birthday, my Taylor Alise!